


A common requirement in building applications is the need to serialize objects and pass them across tiers between the server and the client. These objects typically hold references to each other, and managing this “graph” and tracking all the changes so that they can be properly persisted to the database can get complicated quickly.
In Visual Studio 2010 and .NET 4.0, the Entity Framework team added a template for generating self-tracking entities (STEs) to provide an easier experience building N-tier applications that need to send entities with changes between tiers. These entities are business objects that have no direct dependency on the Entity Framework, but know how to track their own changes, so that they can later be re-attached to an ObjectContext and the changes correctly merged back.
One of the most common questions we’ve received about STEs is whether these entities are compatible with other platforms such as Silverlight, and if so what are the best practices for structuring your solution. In this article, using Visual Basic 2010, we will build a Silverlight product catalog application using a WCF service and self-tracking entities as the payload between Silverlight and the service. We’ll see how new VB language features such as statement lambdas and implicit line continuation allow you to be even more productive with technologies like Silverlight and Entity Framework.
Creating the Silverlight Application with Visual Studio 2010
The challenge with using the self-tracking entities template with Silverlight is that not all Silverlight and .NET assemblies can be shared between the two platforms. In Silverlight 4.0, a new feature called assembly portability was introduced that allows some .NET assemblies to be used with Silverlight. Some of the pieces of self-tracking entities such as the DataContract attributes and the ObservableCollection(Of T) classes are not in portable assemblies so that strategy will not work here.
However, because both Silverlight and .NET support WCF data contract serialization, the data contract of your communication payload can be shared when sending messages between Silverlight and .NET. In practice, you can accomplish this if you define a class in .NET that has the same <DataContract> and <DataMember> attributes as a similar class that you define in Silverlight; the WCF serializers and deserializers take care of the rest. In the case of self-tracking entities, we will need to have two references to the self-tracking entities code in our solution: one reference from a .NET project and one reference from a Silverlight project.
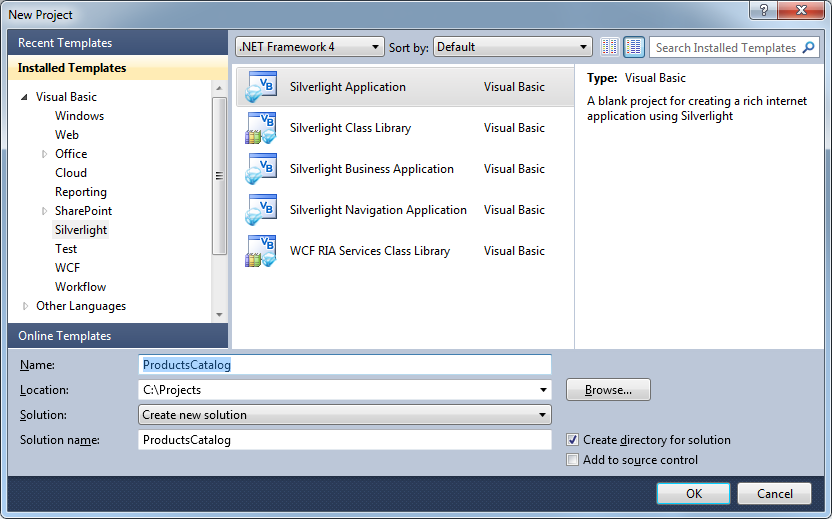
To get started building the product catalog application, open Visual Studio 2010 and create a new Silverlight Application project called ProductsCatalog (Figure 1).
If you don’t have the latest Silverlight developer tools installed, you will be prompted by Visual Studio to install these.
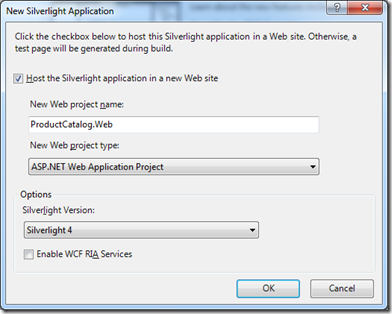
Visual Studio brings up a dialog box (Figure 2) asking how you want to host your Silverlight application. Choose to go with the defaults and host the Silverlight application in a new ASP.NET Web Application Project called ProductsCatalog.Web.
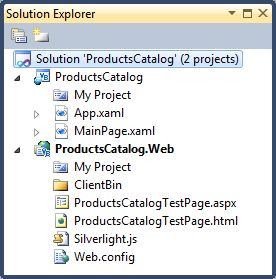
After pressing OK, a Silverlight Application project and a .NET ASP.NET Web Application project is created in the Solution Explorer (Figure 3)
Next you have to make a decision because there are a few options for how to expose the service and the entities you pass between the service and the Silverlight application. First consider where to put the service. The options you have are to either add a service control to the ProductsCatalog.Web project, or to add a new WCF project to your solution to manage your services. The decision comes down to how you plan to host your web site and how you are already managing other services in your application or business. To keep things simple, we’ll just add the WCF service to the ProductsCatalog.Web project.
To do this, right-click on the ProductsCatalog.Web project and choose Add | New Item… In the Add New Item dialog box (Figure 4), click on the Silverlight category and then choose to add a Silverlight-enabled WCF Service. We’ve chosen to name ours CatalogService.svc.

The final decision to make for setting up your Visual Studio solution is where to keep the Silverlight version of your entities. Again there are two options: build them into the existing Silverlight application, or create a new Silverlight class library that you can reference in your Silverlight application. If this is the only Silverlight application that will use your entities, it is fine to just build them into your existing Silverlight application project. If you plan to share the entities with other Silverlight applications or with other Silverlight class libraries, you should put them in their own class library, which is what we’ll do for our product catalog application.
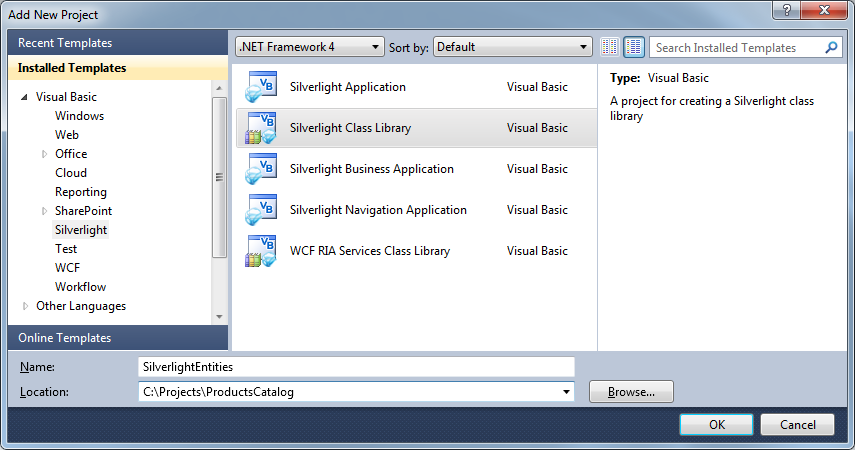
To add a Silverlight class library, right-click on the Visual Studio solution and choose Add | New Project … In the Add New Project dialog box (Figure 5), select the Silverlight category and choose the Silverlight Class Library project type. In this example name it SilverlightEntities.
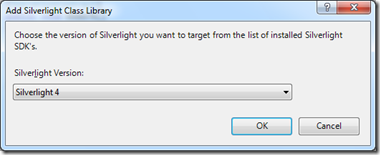
When you click OK, you are prompted to choose the version of Silverlight you are targeting (Figure 6) and in this case this is Silverlight 4.
You can remove the Class1.vb file that is added to this project by default.
The final step is to have the ProductsCatalog Silverlight application reference the SilverlightEntities class library. To do this, right-click on the References folder in the ProductsCatalog project (if this is not visible select the “Show All Files” button in Solution Explorer) and choose Add Reference… From the Add Reference dialog box, click on the Projects tab and select the SilverlightEntities project. This will set up the reference so you can use classes from the SilverlightEntities project within the ProductsCatalog Silverlight application.
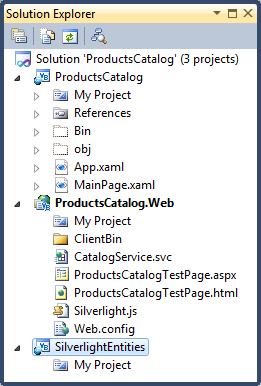
Once you’ve completed these steps, your solution should look like Figure 7, with a ProductsCatalog project, a SilverlightEntities project, and a ProductsCatalog.Web project with a CatalogService.svc file added.
Creating the Entity Framework Model
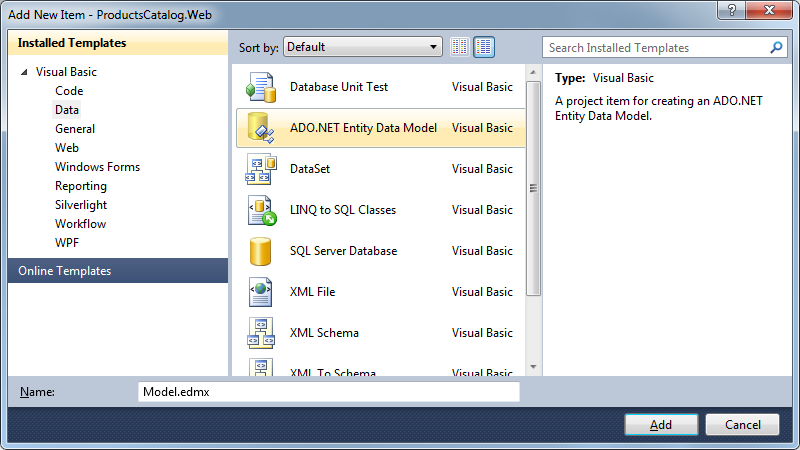
The database the ProductsCatalog application will use is the Northwind sample for SQL Server. The part of our application that will deal with the Entity Framework directly is on the server side, so the model we build will be part of the ProductsCatalog.Web ASP.NET project. To add the model to this project, right-click on ProductsCatalog.Web and choose Add | New Item… From the Add New Item dialog box (Figure 8), select the Data category and choose the ADO.NET Entity Data Model item type. Call the file Model.edmx.
In the Entity Data Model Wizard, choose to generate a model from the database and create a connection to the Northwind database on your machine. This wizard will add the connection string to your Web.Config file. Now choose the Products, Suppliers, and Categories tables to include in the model. This adds a Model.edmx file to your project and opens the Entity Designer (Figure 9).
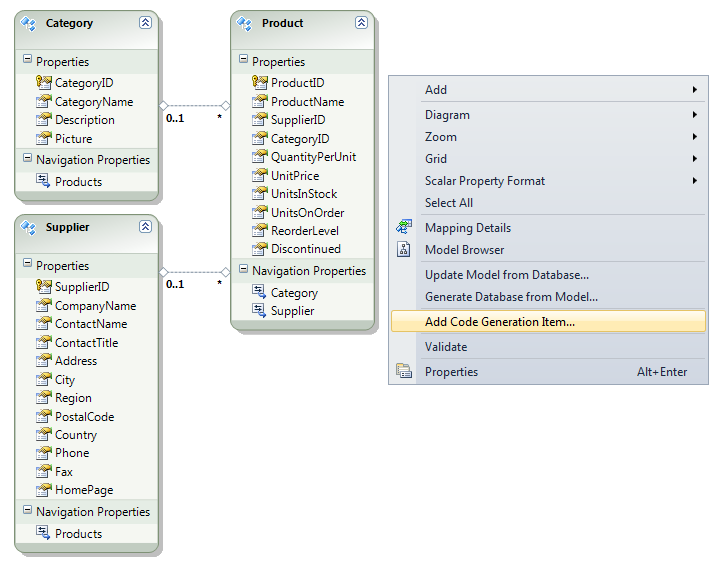
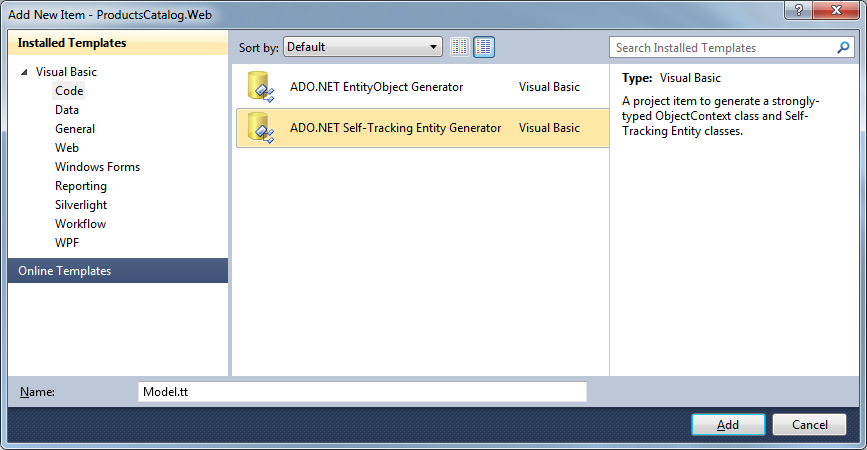
Next it’s time to start working with self-tracking entities so that we can write the service, and then build the Silverlight UI for our application. Right-click on the entity designer surface and select Add Code Generation Item (Figure 10). In the Add New Item dialog box, select the Code category and then pick the ADO.NET Self-Tracking Entity Generator as the item. We’ve named ours Model.tt.
When you click Add, you may get a warning about running T4 templates, and you can click OK to close the warning dialog (you’ll probably also see these warnings when you build your project). T4 is a technology that’s used for code generation, and stands for Text Template Transformation Toolkit. Now there is a model in your solution, and the VB code that is generated for these entities is self-tracking entity code. We are all set to write a service that sends self-tracking entities to the Silverlight application and receives entities with changes that we want to save to the database.
Building the WCF Service
The service for the ProductsCatalog will be fairly simple with only three methods: one for retrieving the product catalog, one for saving changes to it, and one to get a list of Suppliers for the lookup ComboBox. These methods will work by sending around an ObservableCollection(Of Category) where each Category has a collection of its associated Product entities.
Open the CatalogService.svc.vb code file which is underneath the CatalogService.svc file in Solution Explorer (if you don’t see it then make sure the “Show All Files” option has been selected). Listing 1 shows the code for the service methods on CatalogService (note that you will need to add an “Imports System.Collections.ObjectModel” to the top of the file for it to compile).
There are a few interesting points about this code. In the GetCatalog method, all that is needed to retrieve the catalog is to query for all the Category entities and include each one’s Products entities. The UpdateCatalog takes an ObservableCollection(Of Category), and for each Category instance, calls the ApplyChanges method to extract the changes made to the self-tracking entity and put them in the NorthwindEntities ObjectContext. ApplyChanges operates on all related entities, so even if a Category entity is unchanged, ApplyChanges will also look at all of the Category’s Products and apply any changes it finds to the ObjectContext. Once all changes have been applied, the changes are saved to the database. Note:You shouldn’t just trust that the data that came from the client is good, but rather write validation logic here (in addition to the validation logic you’ve implemented on the client side).
Notice that the UpdateCatalog returns a new product catalog via the GetCatalog method. With self-tracking entities you have to make a decision on whether to continue using the same entities in the client tier, or replace them with refreshed versions on update calls.
Finally, it’s worth noting that this code didn’t need any underscores! VB 2010’s new implicit line continuation feature means the compiler can detect the vast majority of situations where you would have needed an underscore in the past. This is particularly handy for code that uses attributes and makes things a lot cleaner.
One downside to sending large sets of entities between a client and the service is that this can lead to a large WCF message size. By default, WCF services do not have a large enough message size setting for receiving sets of self-tracking entities so you will need to change the service’s Web.Config file to have a larger message size. In the fragment below, add maxReceivedMessageSize="2147483647" maxBufferSize="2147483647" to the empty httpTransport node that the service generated:
<customBinding>
   <binding name=
"ProductsCatalog.Web.CatalogService.
customBinding0">
      <binaryMessageEncoding />
      <httpTransport
maxReceivedMessageSize ="2147483647"
maxBufferSize ="2147483647" />
   </binding>
</customBinding>
Your service is now set up to send and receive sets of self-tracking entities.
Building the SilverlightEntities Class Library
The first step in building the Product Catalog Silverlight application is to include all of the self-tracking entity code that was generated as part of your model into a Silverlight assembly. By default, the self-tracking entity template generates VB or C# code that can build in a Silverlight project. In our case, we’ll reference the code generated for the entities from the SilverlightEntities Silverlight class library. Visual Studio provides a way to add a link from a project to source files, and we’ll take advantage of this to include the self-tracking entity code files into the SilverlightEntities project. To do this, right-click on the SilverlightEntities project and select Add | Existing Item…. From the Add Existing Item dialog box, navigate to the ProductsCatalog.Web project and select the Model.tt file (this is the template that generates all of the self-tracking entities). Next, instead of just clicking “Add”, click on the down arrow on the Add button and select Add As Link (Figure 11).

This allows both the ProductsCatalog.Web and SilverlightEntities projects to run the same Model.tt T4 template. This is a nice convenience because if you modify the model (for example, by adding an additional entity or property), both the .NET (server-side) and the Silverlight (client-side) versions of your entities will stay in sync. However, the generated code will use the root namespace of the project that triggered code generation so if the two projects have different root namespaces, you can get yourself into trouble. To avoid this, right-click on the SilverlightEntities project and choose properties. In the project properties dialog, make the root namespace for the SilverlightEntities project “ProductsCatalog.Web.”
One alternative is to copy all the code files to your SilverlightEntities folder, but keep in mind that if you do that the SilverlightEntities and ProductsCatalog.Web versions will not be kept in sync automatically.
Before you can build your solution or project, you’ll need to add a reference to System.Runtime.Serialization to the SilverlightEntities project so that the project knows about DataContractAttribute and DataMemberAttribute for WCF serialization.
Hooking up the Service to the Silverlight Application
The final step is to hook the Silverlight application to the service we created and then build a UI that retrieves and displays the product catalog, allows updates, and then uses the service to push changes back to the database.
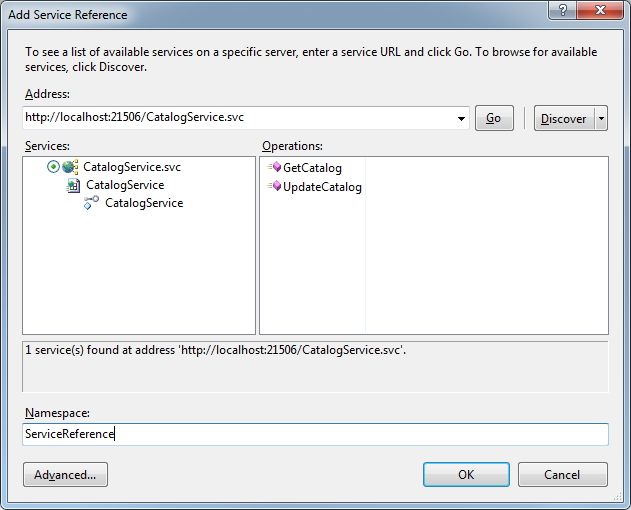
To hook the ProductsCatalog Silverlight application to the CatalogService, first rebuild the solution, then right-click on the ProductsCatalog project and select Add Service Reference (Figure 12). Click on the Discover button and choose the CatalogService.svc service. You can give the service reference a namespace; for example, we named ours “ServiceReference.”
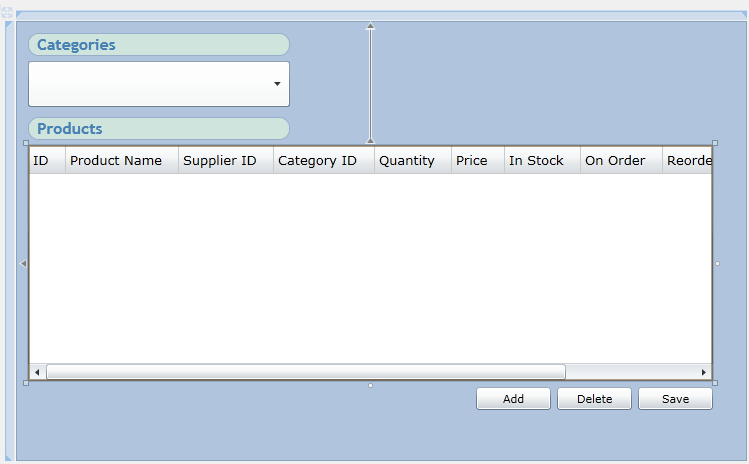
You can then build the UI for your Silverlight application, such as the simple one we’ve built below with a ComboBox drop down for the categories, and an editable GridView for the products. Self-tracking entities support many of the common data binding mechanisms such as INotifyPropertyChanged and ObservableCollection(Of T), so it’s pretty easy to bind the entities directly to the UI controls. Replace the XAML in MainPage.xaml with the code in Listing 2.
It’s also possible to use the Data Sources window to drag and drop items onto the page to create the UI automatically. While beyond the scope of this article, you can find more information on it at http://msdn.microsoft.com/en-us/library/ee621313.aspx.
The Binding="{Binding Path=..." are used to setup data binding such that the page will display any object with properties that have those names. In order to use the DataGrid functionality you’ll need to add a reference to System.Windows.Controls.Data. See Figure 13.
When the page initializes, we connect to the service and retrieve the product catalog using the GetCatalog method on the service, as shown in Listing 3.
Typically when we see calls to AddHandler, the second argument always starts with the VB keyword AddressOf which then points to a method. However with a new feature called statement lambdas, we can actually have methods inside methods, and that’s exactly what we’re doing here. We’re saying “when the GetCatalogCompleted event fires, run this code” (i.e., the SetCatalog method in this case). It’s particularly important to have this capability in Silverlight, as all of the service methods must be asynchronous so that they don’t block the browser. Statement lambdas work very well with this pattern of “callback” methods. Finally, notice that in the GetSuppliesCompleted line, we actually have a statement lambda that itself contains a statement lambda.
Notice also that we didn’t specify the type of sender or e within the lambdas. We certainly could have by using an As clause, but there’s no need to as the compiler can perform type inference and determine the type of the parameters based on the event signature to the left. If you hover over sender and e in the IDE you’ll see they’re typed as Object and UpdateCatalogCompletedEventArgs, respectively.
The SetCatalog method is a helper method we wrote in the MainPage class to bind the categories and products entities to the controls. This method stores the new collection of Category entities into a class field on the MainPage class called _catalog. Here we again need a statement lambda to pass to BeginInvoke in order to run that logic on the main UI thread.
Finally, the Save button’s Click handler simply passes the updated set of category and product entities to a call to the UpdateCatalog method on the service. See Listing 4.
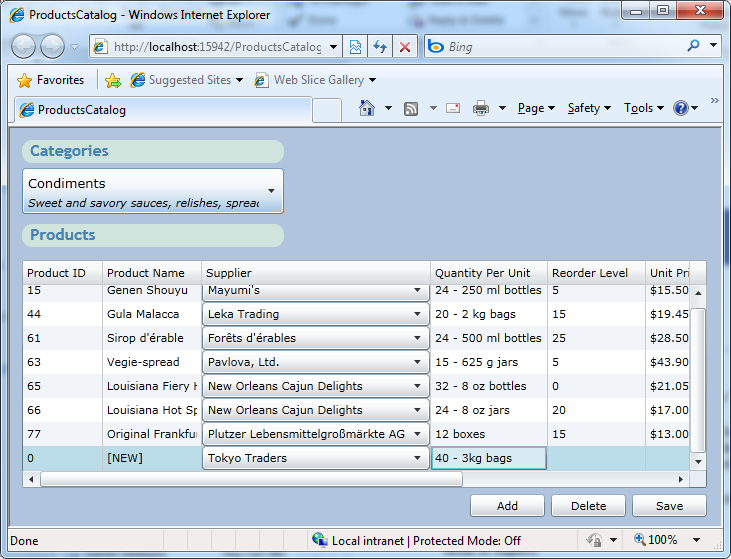
Notice the use of VB’s relaxed delegates feature here - we didn’t need to specify the two parameters (sender, and e) to the method even though the event’s signature does have them. Since they’re not needed for the method, we can simply omit them and simplify the method signature. Also, notice that while we could have specified our event-handler in XAML, we elected not to and instead will take advantage of VB’s declarative event-handling capability (i.e., the Handles keyword). Finally we add in the code to handle inserts and deletes shown in Listing 5. You can see the result in Figure 14.
Guidance on When to Use STEs
In general, the “sweet spot” for STEs is where you’re writing a service that’s more operation-centric (as opposed to model-centric), need WS-* capability, and you have .NET on both the server and client side. For example, if you’re using Datasets to transfer data across tiers in your application today, STEs gives you similar capabilities for Silverlight clients.
STEs are one of several approaches you can use to move data from your service to your Silverlight client, and depending on your requirements, any could be a viable approach. A comprehensive evaluation of the pros and cons of each is beyond the scope of this article; however you can find plenty of good guidance at the following links:
http://blogs.msdn.com/endpoint/archive/2010/01/04/wcf-data-services-ria-services-alignment-questions-and-answers.aspx. http://blogs.msdn.com/endpoint/archive/2009/11/18/the-wcf-services-ecosystem.aspx.
In Summary
Self-tracking entities provide an easy way to move sets of entities with changes between Silverlight applications and .NET services. Once you have your Visual Studio solution setup, you can share the code generated by the self-tracking entities T4 template between .NET and Silverlight projects while still retaining the correct WCF data contract. Self-tracking entities have some nice built-in capabilities for Silverlight such as the ability to do two-way data binding with UI controls. We’ve also seen how the new capabilities in Visual Basic 2010 make things like performing asynchronous operations significantly easier. While we work to make sharing code between Silverlight and .NET easier, we’d appreciate any feedback you have about self-tracking entities in Visual Studio 2010 or capabilities you’d like to see in a future release.
For more information on the new capabilities of VB 2010, check out “What’s new in Visual Basic 2010” in the April 2010 edition of MSDN Magazine. For more information on what’s new in Entity Framework 4.0, check out “Entity Framework 4.0 and WCF Data Services 4.0 in Visual Studio 2010”, also in April’s issue. Finally, for more information on some of the design decisions behind STEs, check out “Self-Tracking Entities in the Entity Framework” on the Entity Framework Design blog.
